

I see your site needs some fresh & unique articles. Writing manually is time consuming, but there is solution for this.
Just search for – Masquro’s strategies
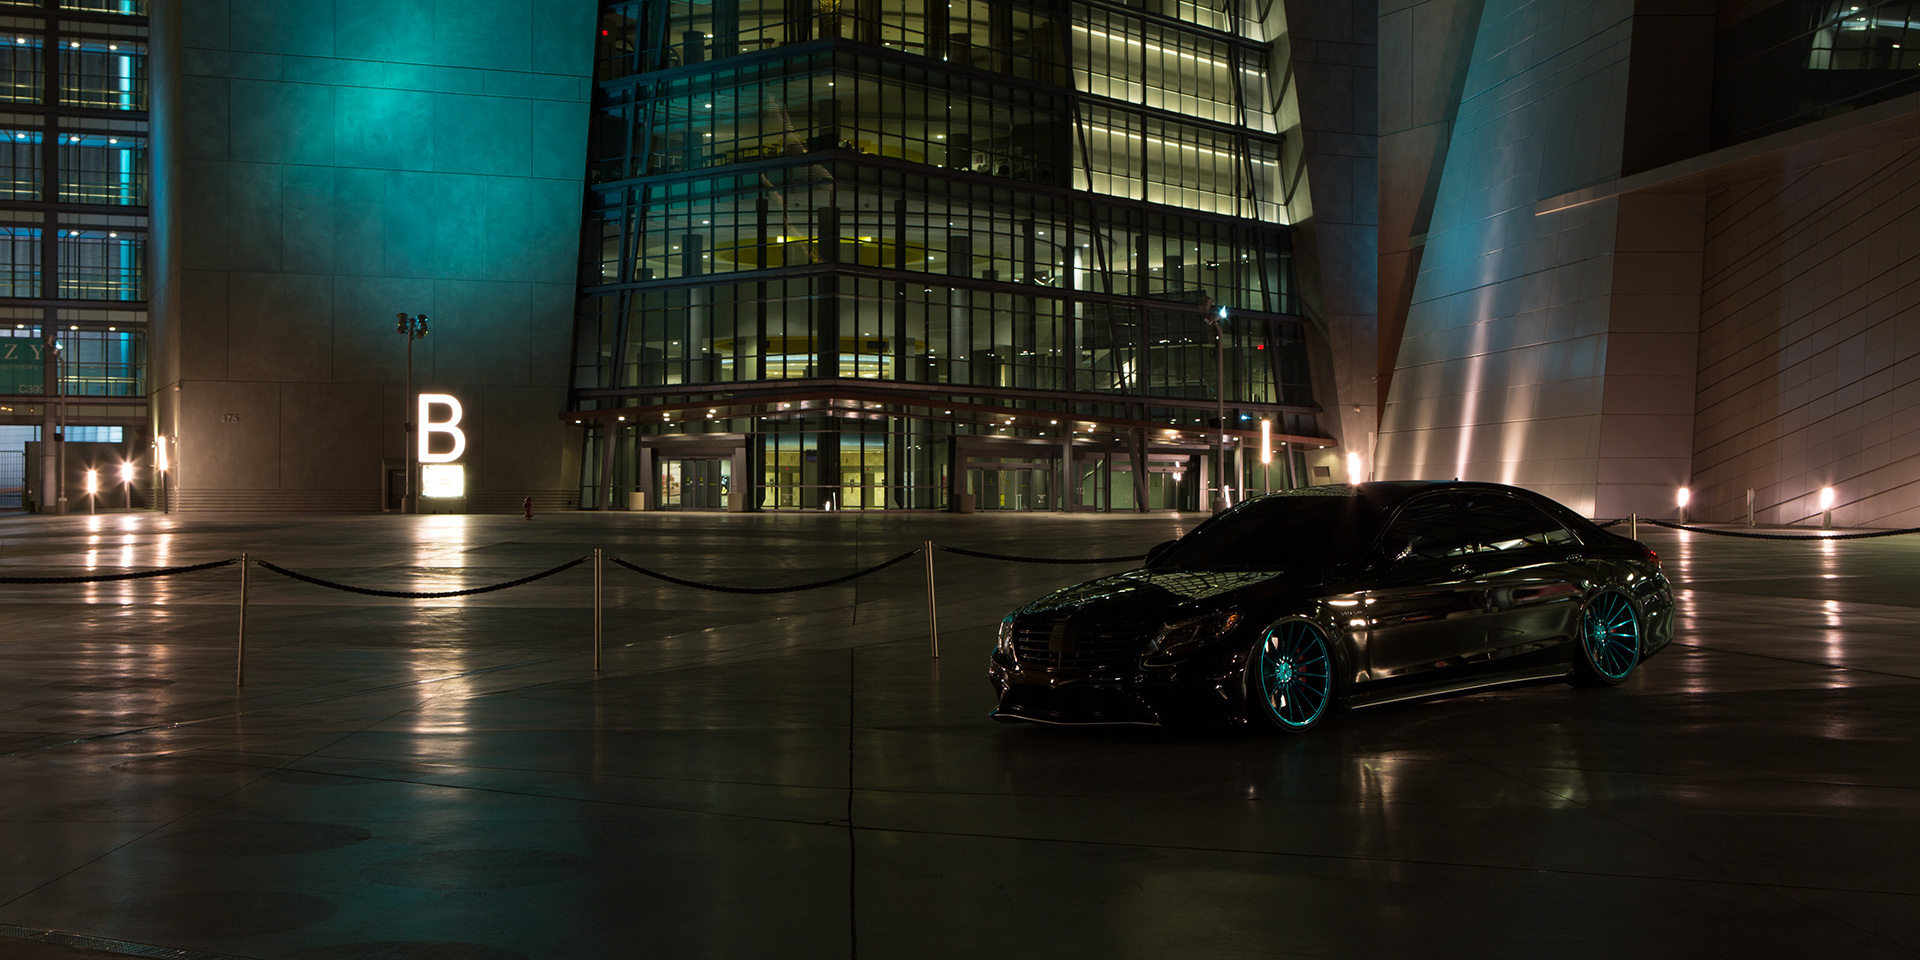
Here’s a new shoot we recently did for our client for his new 2016 Mercedes S63 AMG. Beautiful car with custom rims, airbag suspension, vinyl chrome deletes etc… He wanted a photo that shows the beauty of the car, something sexy and epic. We decided to use the same light painting technique we use for our architectural photos and apply it to the automotive industry. Being that this was a black car, light painting it would be the best option to appreciate all the cars details and body lines. This technique was learned from Mike Kelley, an amazing photographer in the architectural space. After talking with the client, it was time for some location scouting, so we drove all over Las Vegas to find the perfect spot, we went to the Vegas strip, casino roof tops and some landscape locations, but eventually found this jewel in the heart of downtown. What a perfect location, I loved the building and the modern look to it, I just knew this was the perfect spot to use as a background, and luckily enough the lights hitting the building was the same color as the cars rims…what are the chances of that!
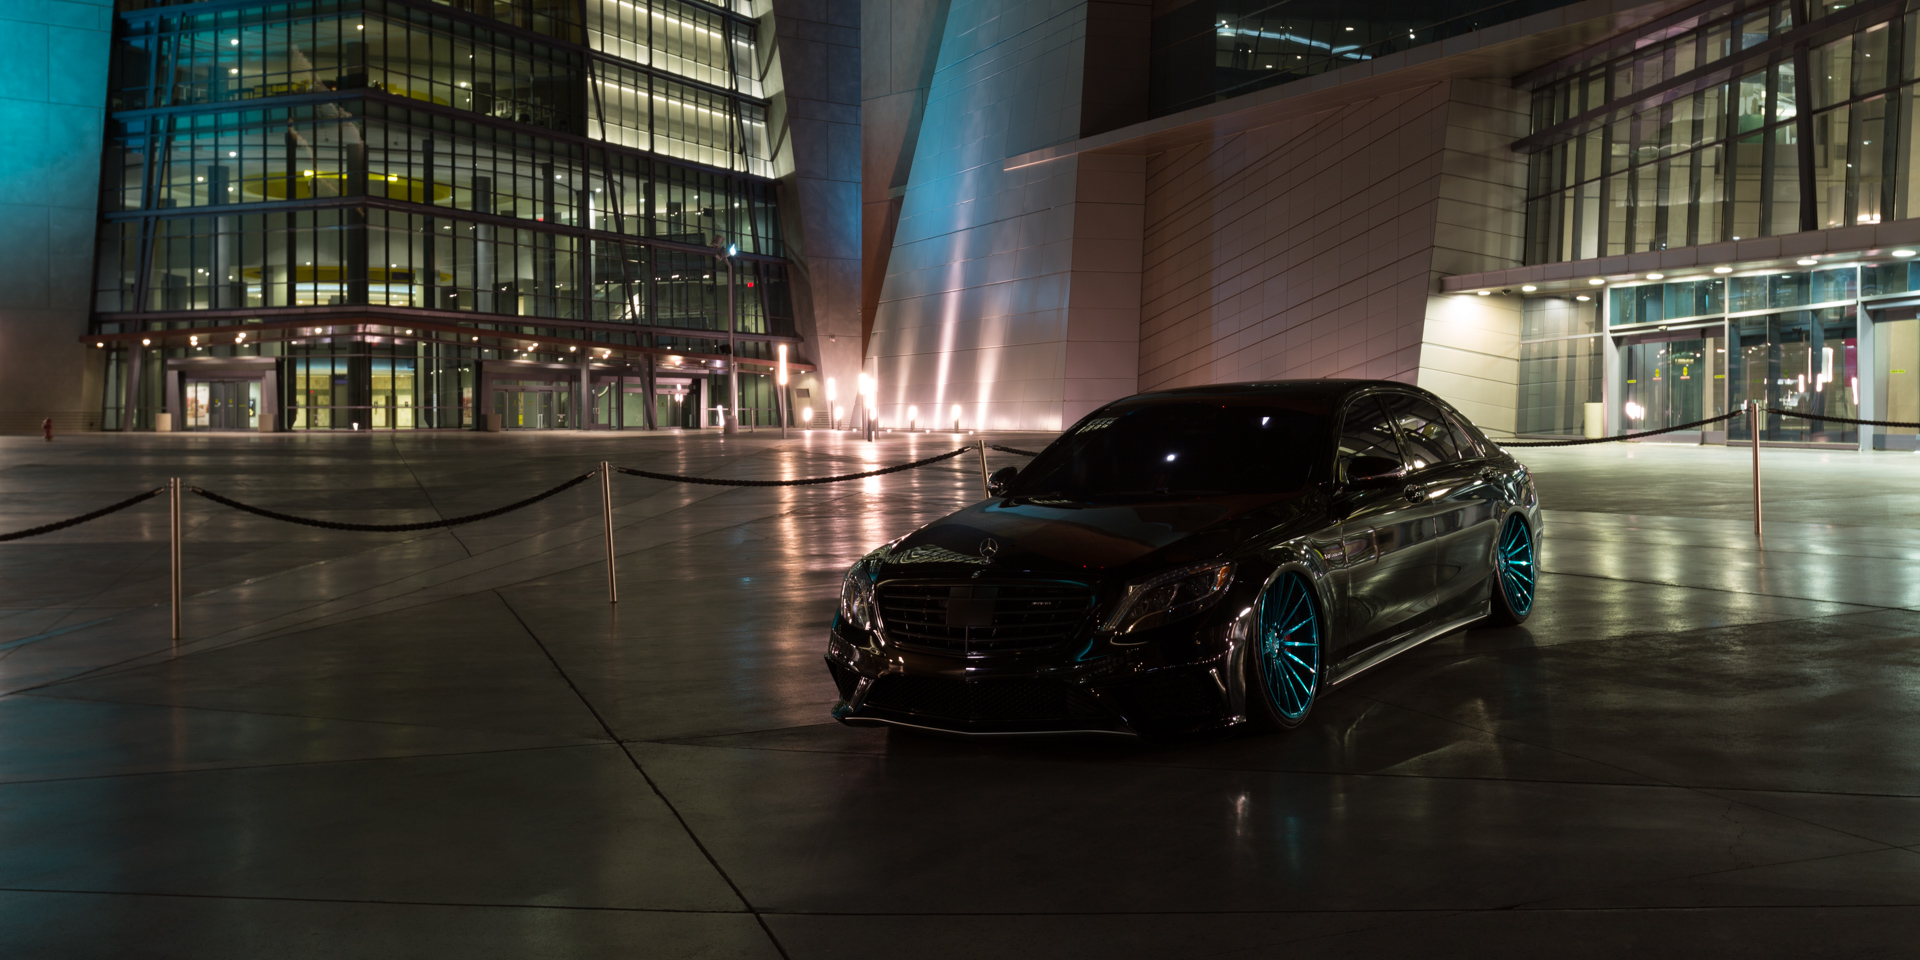
So we got to the location on a late friday night after the sun went down, we didn’t need to worry about sunsets or twilight skys since the buildings were really tall. After talking with my assistants and the car owner we finally locked down the composition for the photo. We actually placed a second tripod at the same time so that we can get 2 shots completed without having to redo the entire light painting process, all we needed was a clean base plate which we used to clone out the tripod in Photoshop.
The entire light painting process took us about an 1 hour to do, we made sure to get all the details of the car lit…body lines, head lights, wheels, hood, roof, bumpers etc…
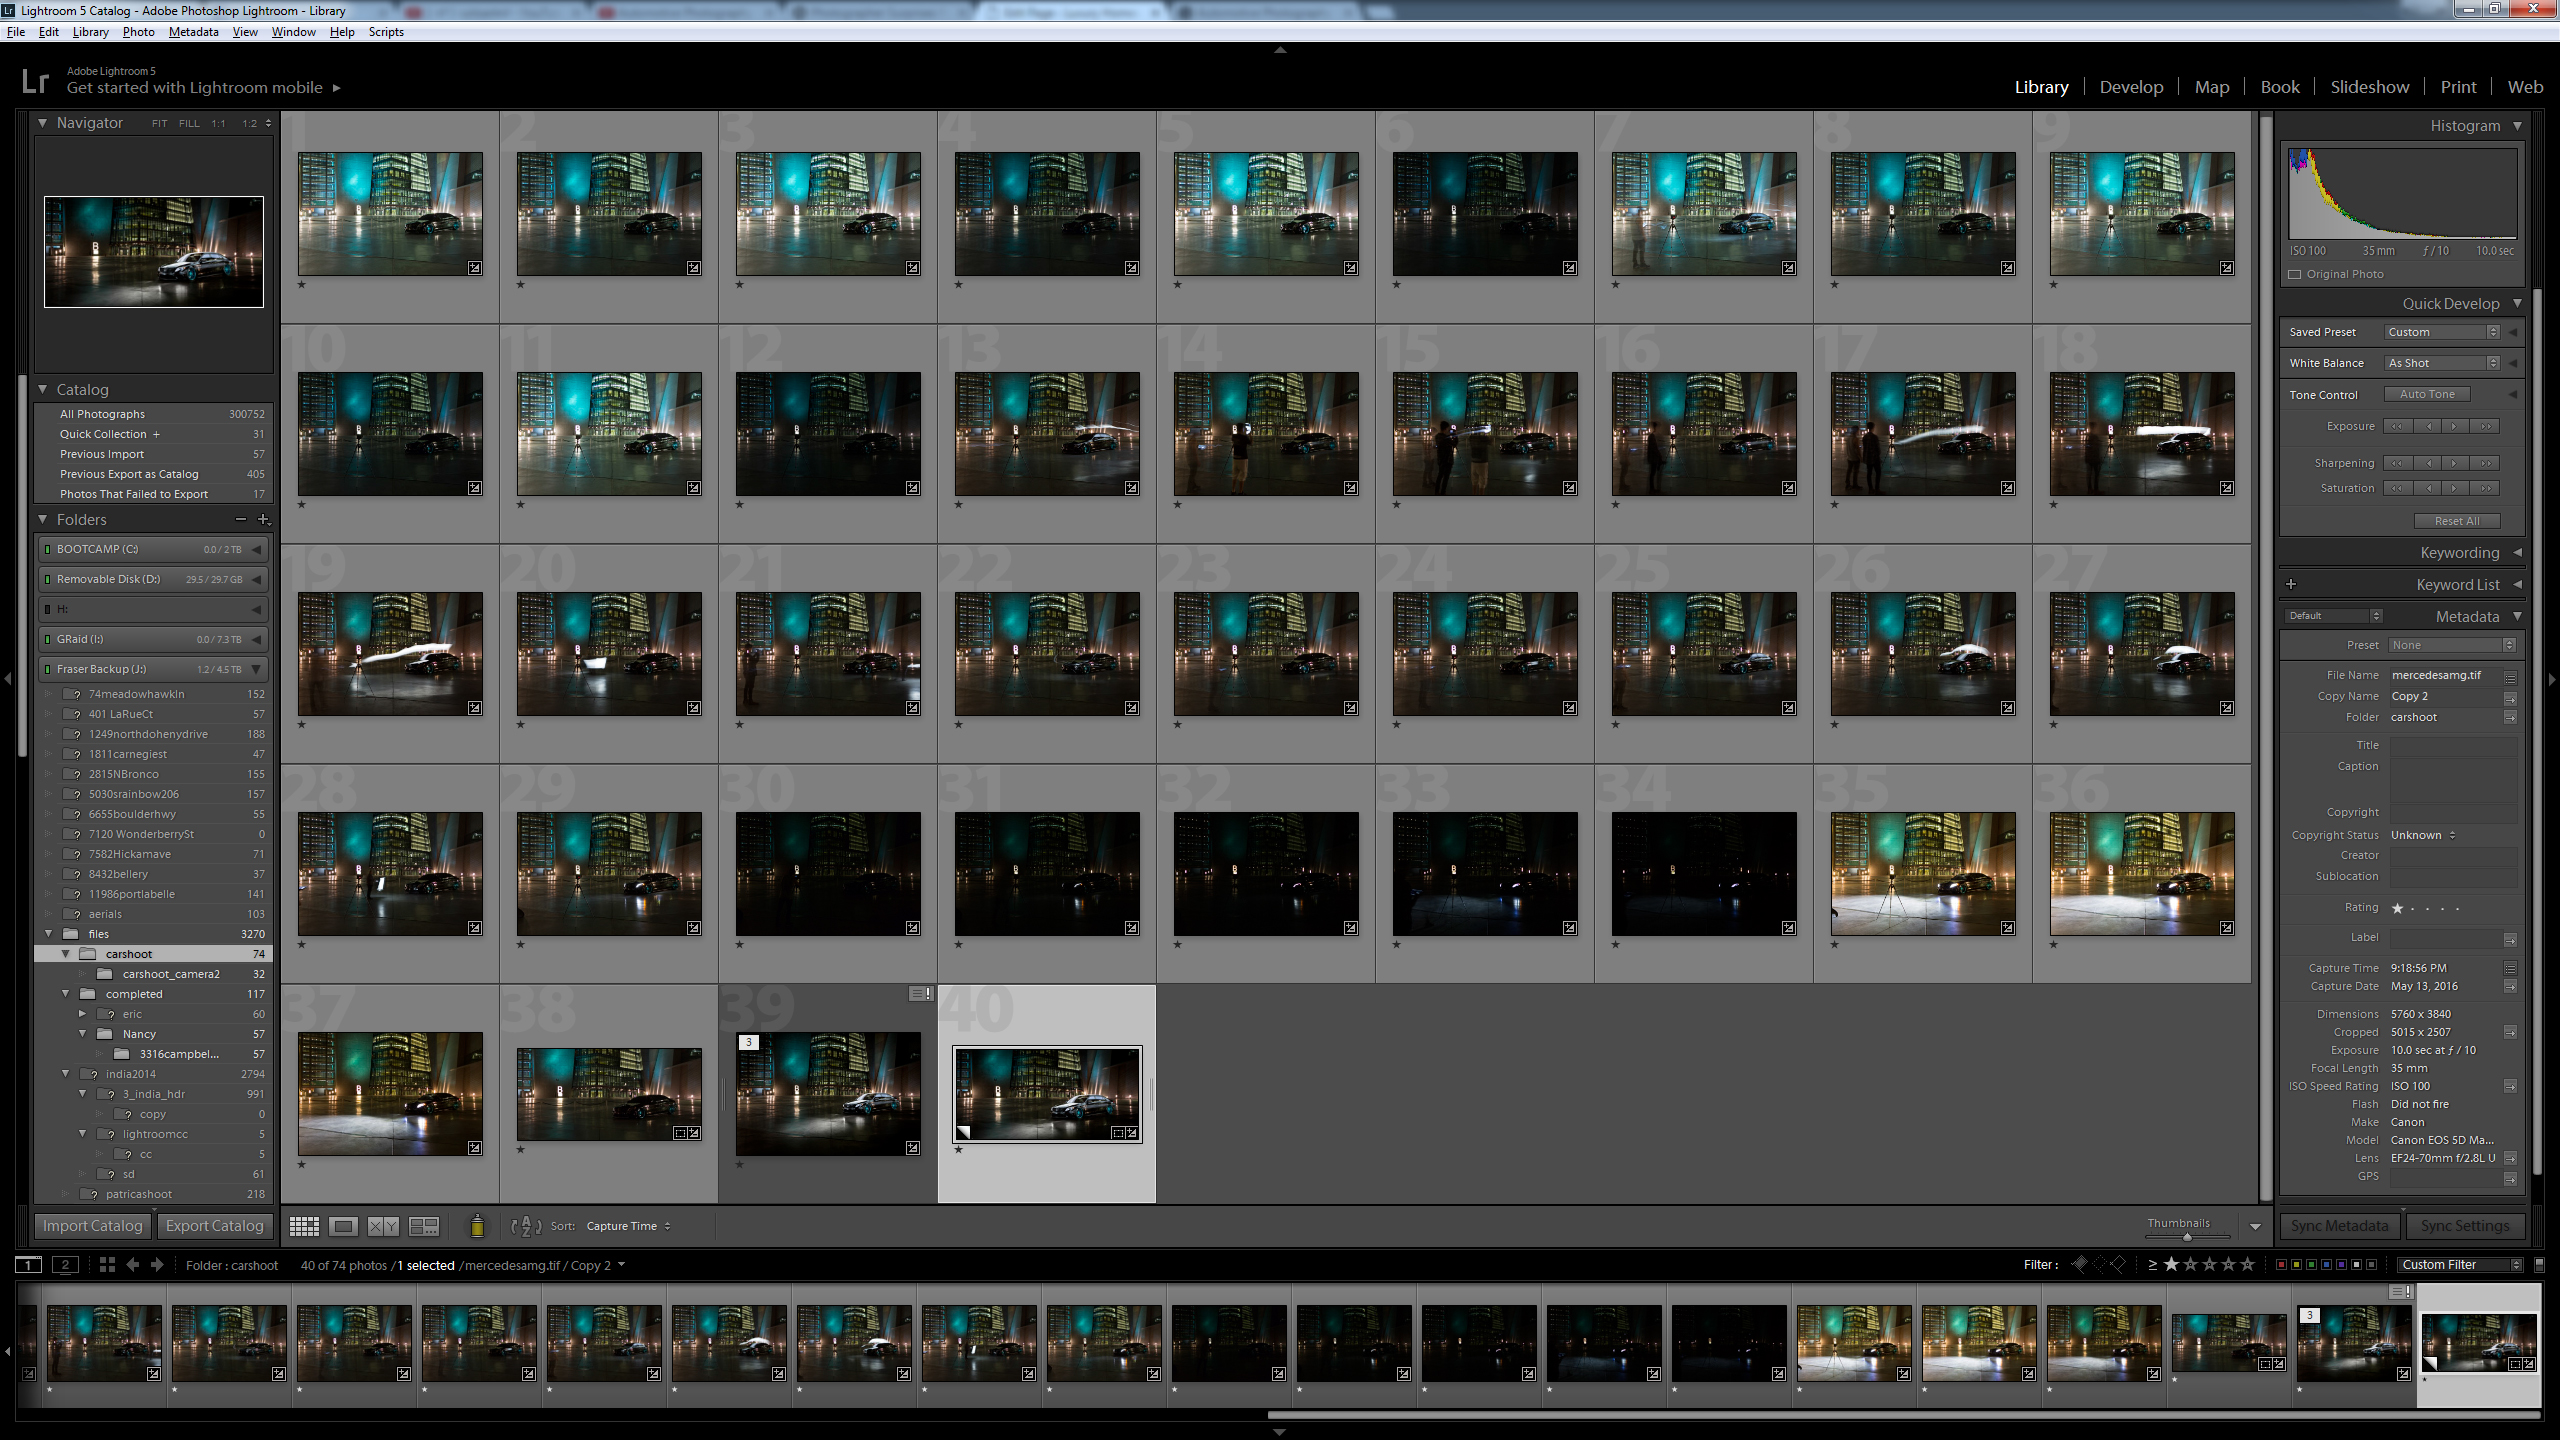
Then it was back to the studio to put it all together. The post production process took about 1.5 hours to complete the final image. The editing for the second angle went even faster.
Move the slider left or right to see the comparison.
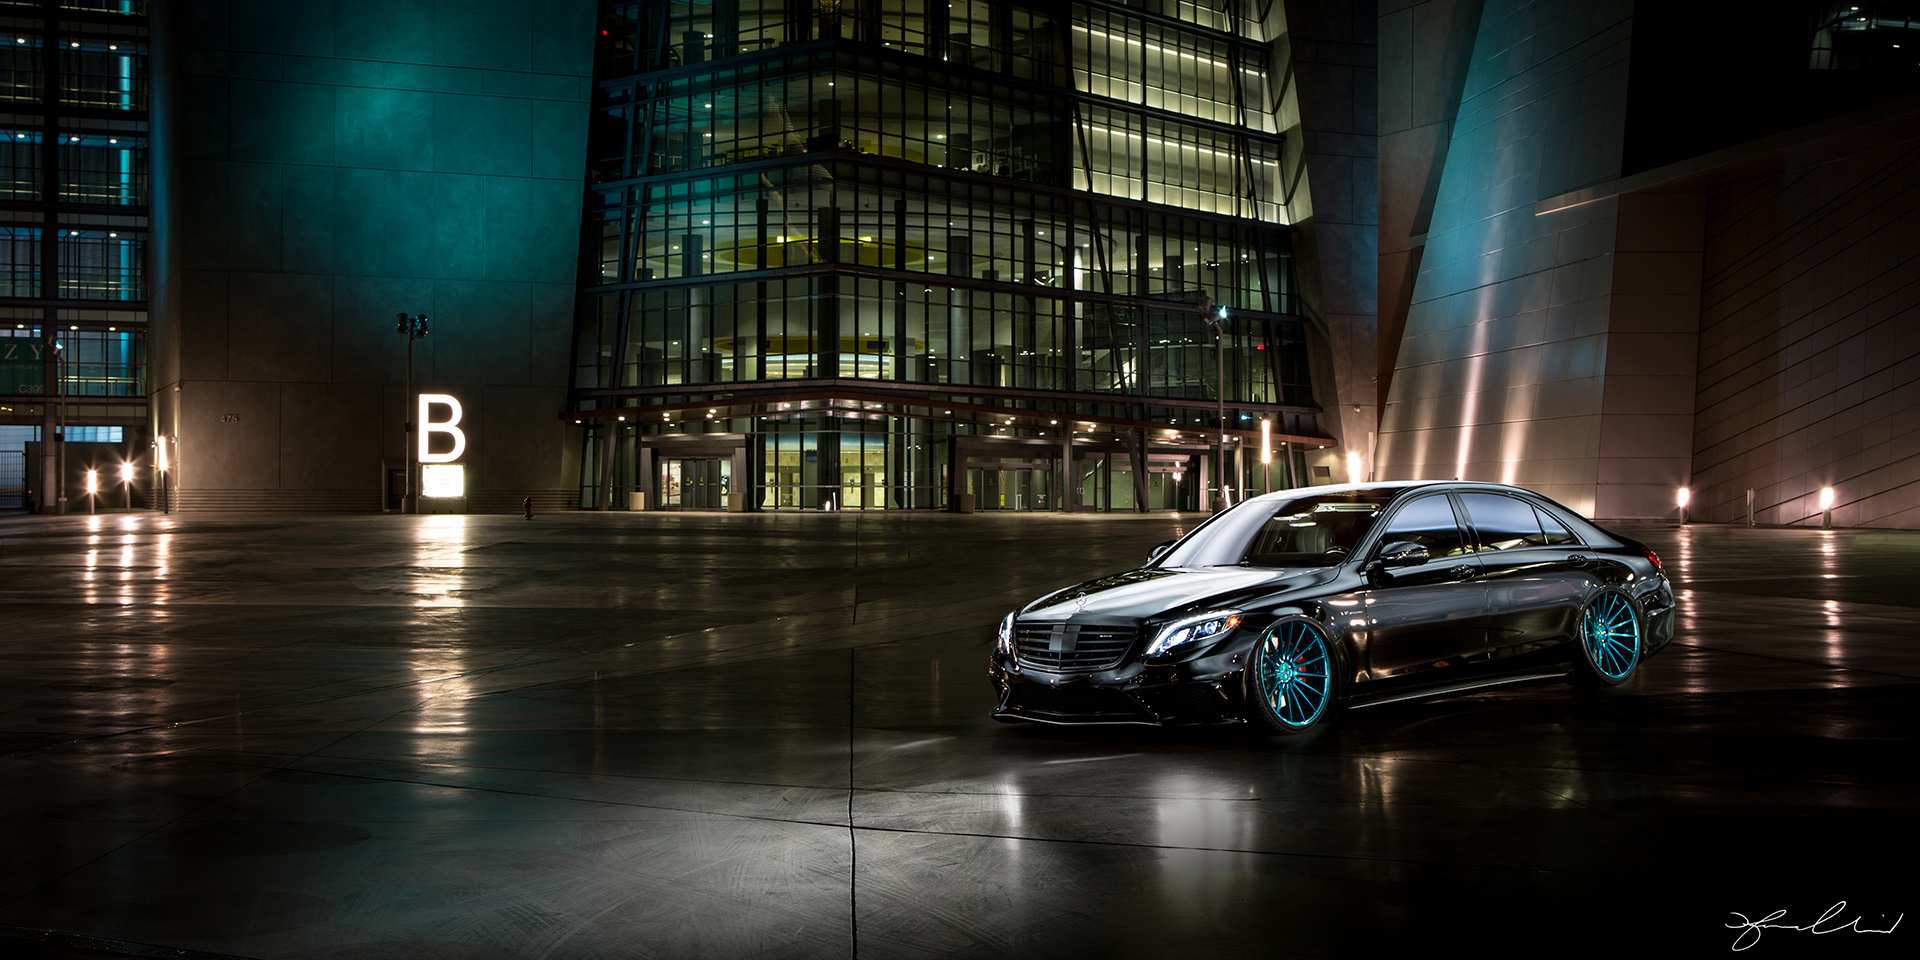
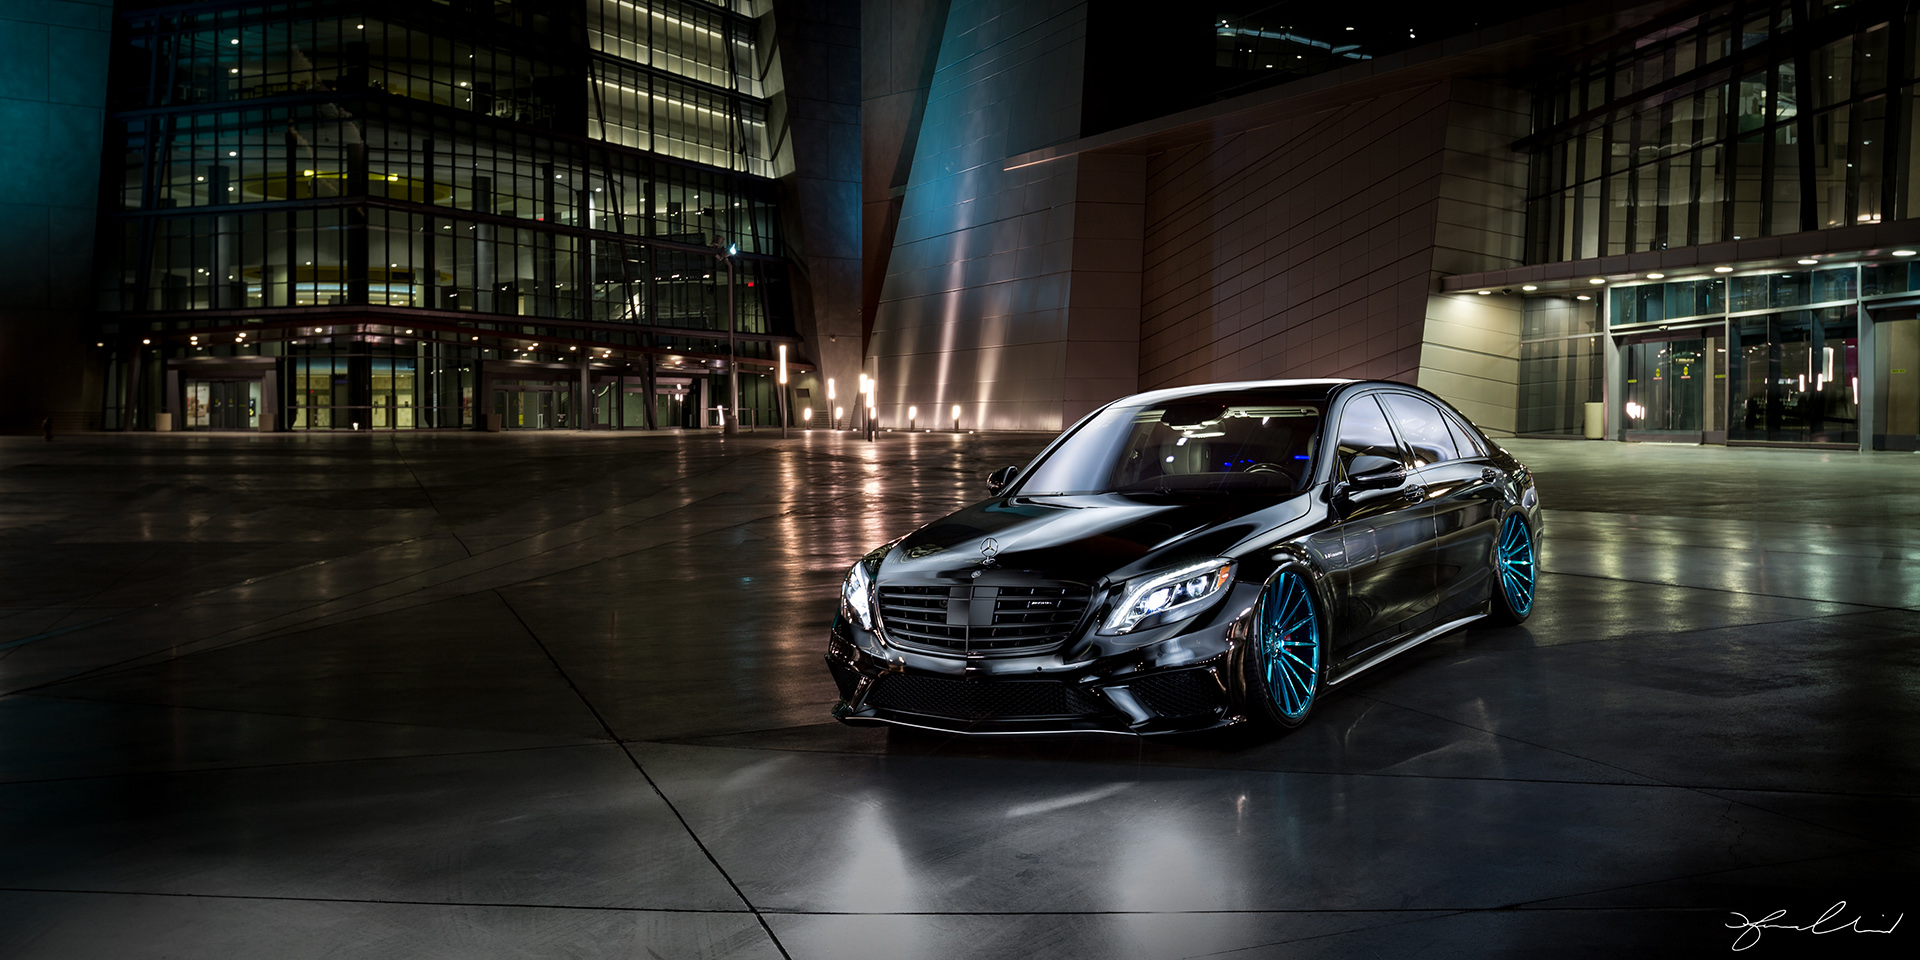
Moving forward I definitely will be applying this same technique to the automotive photography jobs we get in the future. Enjoy!
I see your site needs some fresh & unique articles. Writing manually is time consuming, but there is solution for this.
Just search for – Masquro’s strategies
Pingback: Car photography research links – Sam
Pingback: social signals
Pingback: köpa logga företag
I must say you have high quality posts here.
Your website can go viral. You need initial boost only.
How to get it? Search for: Etorofer’s strategies